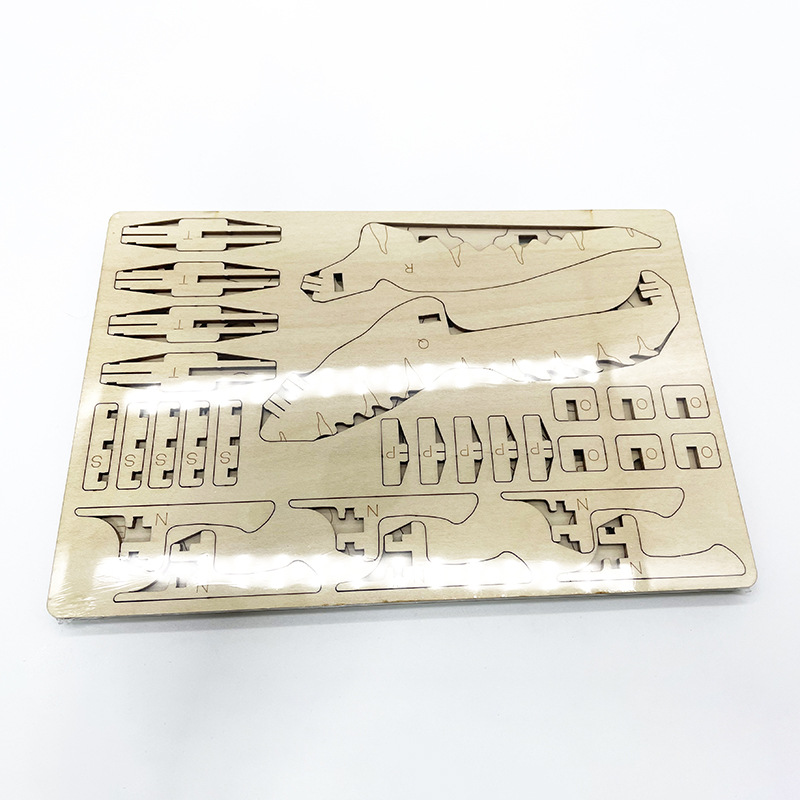
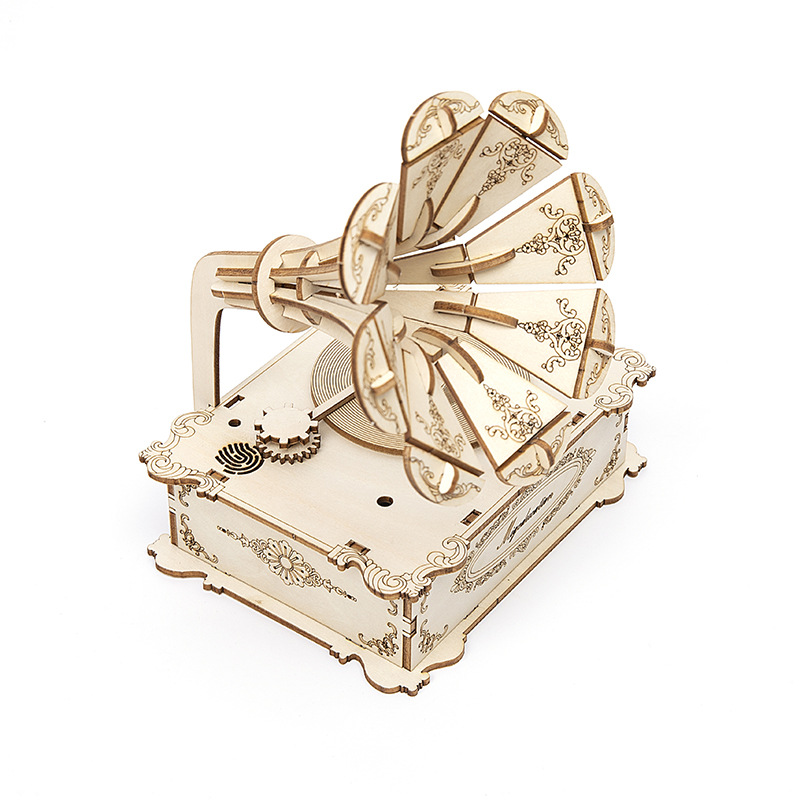
Do you want to make your 3D wooden puzzles waterproof? Smart move!

Steps
Here’s the secret to how to do it, step by step:
Get Your Gear Together
Before diving in, gather up your gear.
Your trusty 3D wooden puzzle
Some waterproof wood sealant or varnish
Fine-grit sandpaper
Paintbrushes
A clean spot to work
Safety gear (gloves and goggles)
Prep Your Puzzle
Start by making sure your puzzle’s surface is in good shape. Use fine-grit sandpaper to smooth out any rough spots or imperfections. This step helps the sealant stick better to the wood.
Paint on waterproof stuff
Now, it’s time to slather on that waterproof sealant or varnish. Crack open the can and give it a good stir if needed. Then, grab a brush and make sure you coat every single piece of your puzzle. Get into all those little nooks and crannies. Don’t leave anything out!
Let It Dry, Baby
After your first coat of sealant, let it dry completely. Check the instructions on the can for how long that’ll take. It’s important to make sure it’s completely dry before moving on.
Sand It Down (Lightly)
Once the first coat is dry, grab your fine-grit sandpaper again and give the surface a gentle sanding. This helps make things smoother for the next coat. After sanding, wipe away any dust with a clean cloth.
More coats, please
Repeat the sealant application process for at least two more coats. Multiple coats mean better protection against moisture. Let each coat dry completely before adding the next one. Usually, 2-3 coats should do the trick, but if you want to go the extra mile, feel free to add more.
Double-Check for Coverage
After the final coat dries, take a close look at your puzzle. Make sure every inch is coated with sealant. Pay special attention to any tricky spots or joints where moisture might sneak in.
Puzzle Reunion
If you took your puzzle apart for waterproofing, it’s time to put it back together. Follow the instructions or use reference images to make sure everything fits snugly.
Wait for the Magic
Once your puzzle is back together, give it plenty of time to dry in a cool, airy spot. You want to make sure all those layers of sealant are super dry. It might take a day or even longer, depending on the sealant and the weather.
Puzzle Party
Now that your puzzle is waterproof, you can show it off without worrying about moisture messing things up. Whether you display it or challenge yourself to solve it again and again, your waterproofed puzzle is ready to take on whatever comes its way.

Conclusion
Just follow these steps, and your 3D wooden puzzle will become a waterproof superhero. It’ll stay awesome for years to come!
 Armand